
Avoiding Common Painting Mistakes: Lessons Learned from Experienced Contractors
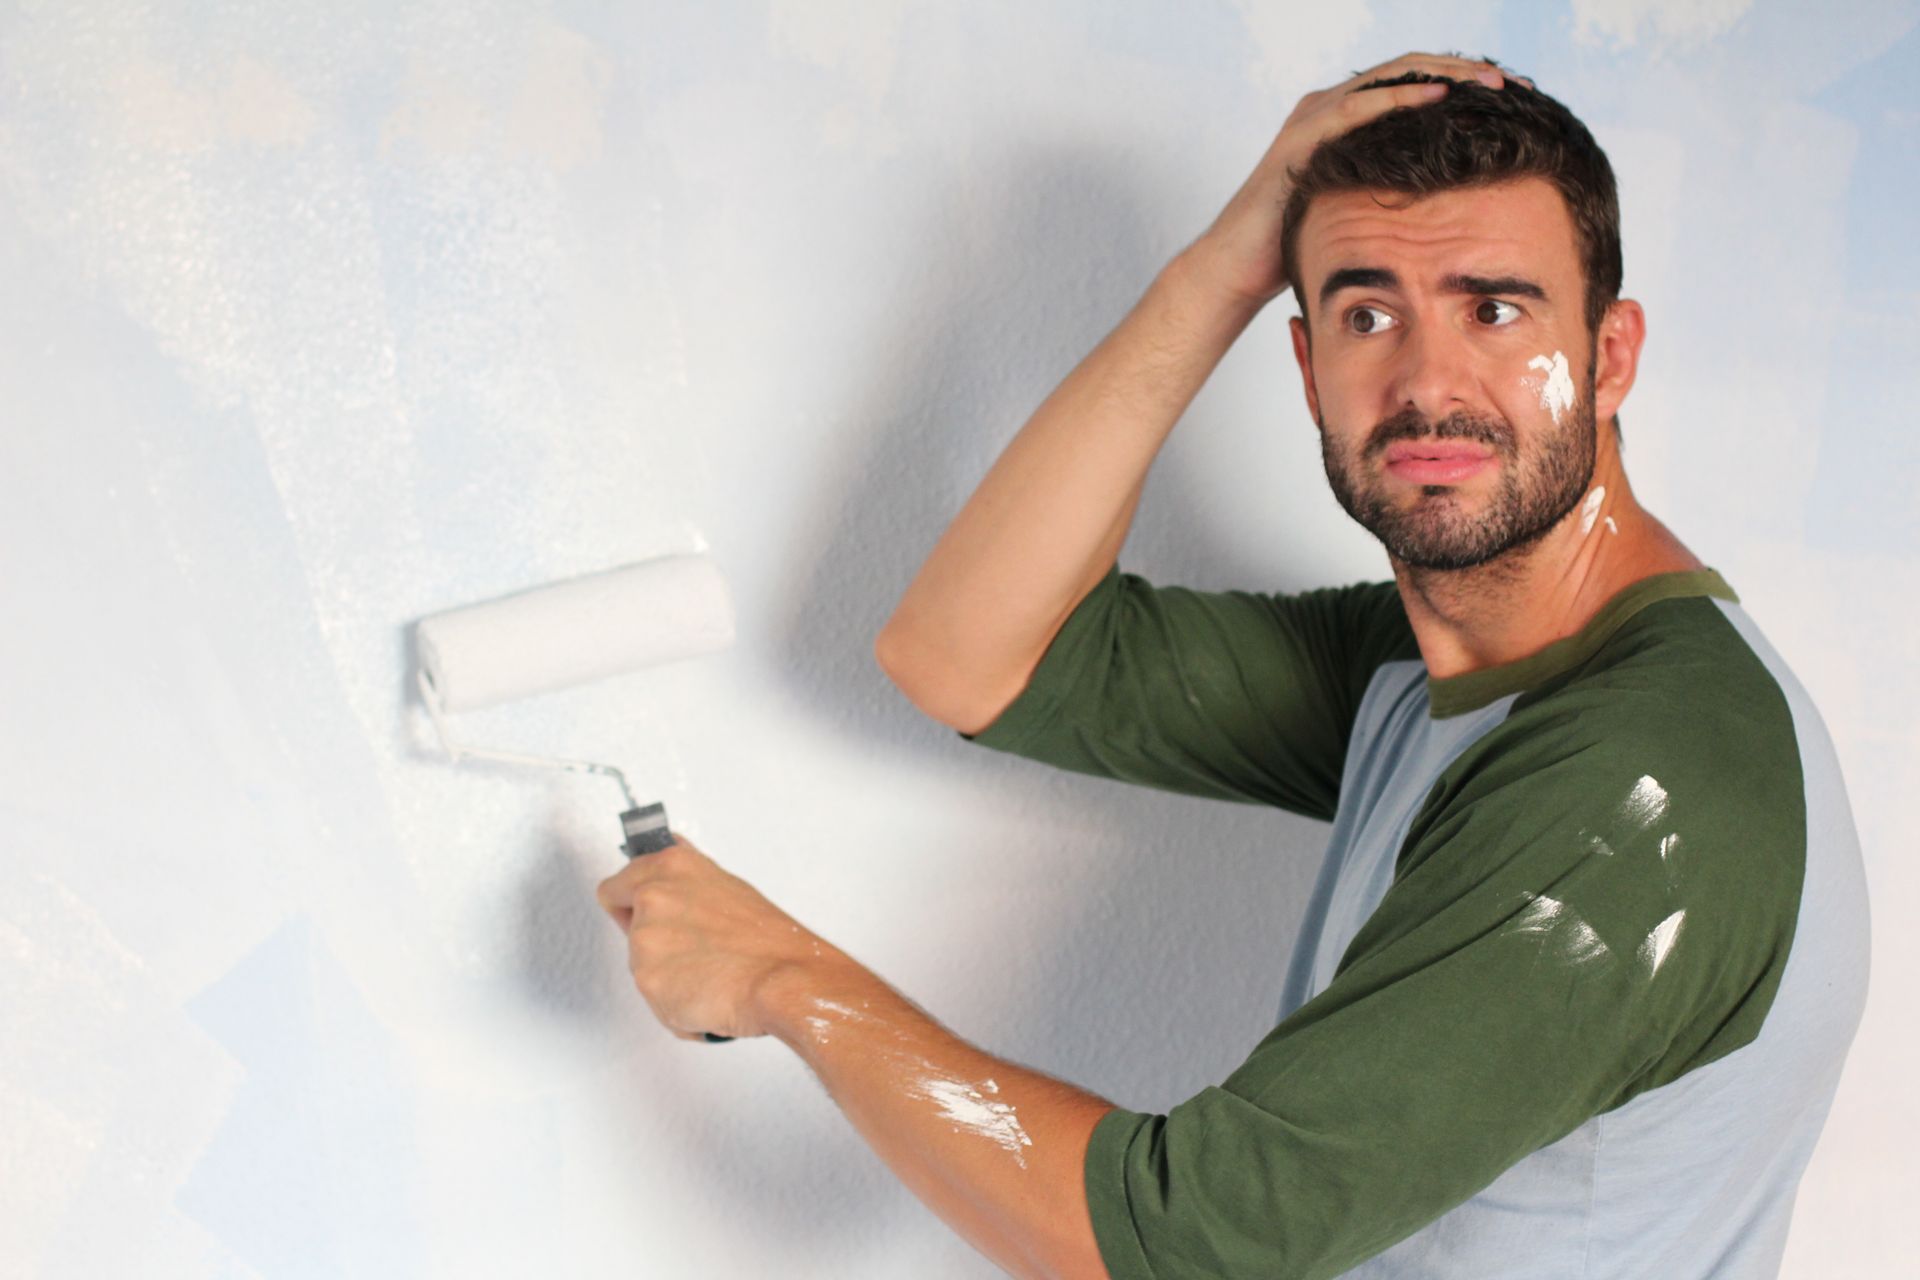
Think it’s JUST paint? Sad to say, it isn’t. Painting a room or home can seem deceptively simple, leading many DIYers to underestimate the skills and techniques required to achieve professional-looking results. However, taking the time to properly prepare surfaces, apply paint evenly, and avoid common mistakes can transform a paint job from sloppy to stunning.
This guide covers some of the most common DIY painting mistakes, reasons they happen, and tips to prevent and fix them. With the right information and a bit of practice, even novice painters can execute paint projects like a pro. Read on to learn about blistering and bubbling paint, achieving an even coat, proper surface prep, and when it might be best to call in a professional painter. With diligent surface preparation, uniform paint application, and prompt attention when problems arise, you can avoid the most common mishaps and end up with a finished paint job to be proud of.
Blistering and Bubbling
Blistering and bubbling of paint occurs when bubbles form in the paint film either during application or sometime afterwards. This results in an unsightly finish. There are several potential causes of blistering and bubbling:
Moisture
If the surface being painted is damp or has moisture trapped behind it, this moisture can expand as the paint dries and cause blisters. Wood and masonry surfaces in bathrooms, basements, kitchens or exteriors are prone to this. Proper preparation is key - allow adequate dry time, use moisture meters, sealers etc.
Direct Sunlight
Exposure to strong sunlight can heat up dark colored paint, causing air or moisture underneath to rapidly expand and bubble the paint. Priming surfaces before painting can help prevent this. Avoid painting in direct sun.
Inadequate Priming
Applying paint directly over glossy or sealed surfaces without proper priming can lead to poor adhesion and trapped solvents which form blisters. It's critical to prepare surfaces fully and apply compatible primer before painting.
Other Causes
Contamination of paint, incompatibility between layers, insufficient surface preparation, or simply applying paint too thick can also cause blistering. This points to the need to follow manufacturer's recommendations for application.
Proper prep work, priming, paint selection and methodical application is key to avoiding blistering and bubbling issues on painted surfaces. But what steps should you take if you already have blistered paint?
Preventing Blistering and Bubbling
Blistering and bubbling in paint can occur for a variety of reasons, but is most often caused by improper surface preparation, temperature fluctuations, or applying paint too thick. Here are some tips to prevent blisters and bubbles from forming in the first place:
Proper surface preparation
Make sure to thoroughly clean and sand the surface before painting. Remove any dust, dirt, oil or grease that could prevent the paint from properly adhering. Sand glossy surfaces to dull the finish and allow for better adhesion.
Maintain proper temperature
Avoid painting in direct sunlight or on hot days when the surface may heat up. Likewise, don't paint when temperatures are too cold or drop significantly overnight. Ideally, paint when surface and air temperatures are between 50-90°F.
Apply adequate coat thickness
Applying paint too thick in a single coat can cause blistering. Follow the manufacturer's recommendation for proper coat thickness and allow sufficient drying time between coats. Typically 2-3 thin, even coats is better than one thick coat.
Proper prep work, regulating temperature, and correct application thickness will help prevent the paint from blistering or bubbling. Allowing proper cure times between coats and using paints suited for the surface will also reduce the chances of running into adhesion issues down the road.
Fixing Blistering Paint
Sanding and scraping are the first steps to fixing blistering paint. Use medium grit sandpaper or a paint scraper to remove all of the bubbled and blistered paint. Sand and scrape down to the bare surface.
It's important to remove all of the blistered paint so it doesn't continue flaking off underneath the new paint job. Take your time with this step. Rushing can leave behind areas of loose paint that will ruin your final results.
Once all the blistered paint is removed, wipe the sanded areas with a tack cloth. This will remove sanding dust and debris.
Next, spot prime any exposed bare wood or metal. Use an appropriate primer for the surface like oil-based primer for metals or shellac-based primer for knots and sap streaks in wood.
Priming provides an adherent base coat for the new paint. It also seals the porous bare wood and prevents tannins from bleeding through. Allow the primer to fully dry per the manufacturer's directions before painting.
Finally, apply at least two finish coats of a quality latex paint. Make sure to use the same sheen paint as your existing finish. Gloss, eggshell, satin or flat. Allow proper dry time between coats.
Uneven Paint Application
Achieving a smooth, even coat of paint often requires some practice and skill. An uneven paint job with visible roller marks, drips, or streaks marring the surface is one of the most common painting mistakes. There are several potential causes of uneven paint application to be aware of:
Using the wrong nap length on your roller for the surface can lead to an uneven finish. A roller with too short nap won't hold enough paint and will require more coats. Going too long leaves distinctive stippling patterns. Make sure to use the appropriately sized high-quality roller.
Applying TOO much pressure, rolling in a haphazard motion or not maintaining a wet edge as you paint can create unevenness. Use gentle, consistent strokes and overlap each pass to ensure even paint transfer. Keep a wet edge and paint sections completely.
Achieving an Even Coat
Achieving an even coat of paint requires using the proper tools, technique, and regulating environmental conditions.
Choosing the correct roller nap and material for your paint and surface type is key. A thicker nap (typically 3/4"-1") works best for rough or textured surfaces, while a shorter nap (1/4"-1/2") is ideal for smooth surfaces. The roller's core material also matters - polyester and lamb's wool are good for latex paints, while mohair works well for oil-based paints.
Load the roller with paint evenly across the entire surface to prevent thick edges that lead to streaking. Use long, consistent strokes and maintain a steady pace. Applying too much pressure can smush paint unevenly. Always maintain a wet edge and paint systematically from one end to the other. For large walls, apply paint in 3' x 3' sections.
When To Call A Professional
It will always be up to you whether or not you opt to seek professional painting services. In the case where you think you can delegate time to learn and keep in mind all that we mentioned, then there’s no harm in trying. In fact, you could learn a valuable skill! Now, if you find the steps above too difficult and time-consuming, then it is always best to seek the professionals. You would be able to benefit from it more in the long run both aesthetically and financially.
Let Green Valley Painting Paint Your Space In The Best Way Possible!
For personalized assistance, turn to Green Valley Painting, a trusted name for over 15 years in Solano County, Napa County, and Contra Costa County. Beyond impeccable wall painting, Green Valley Painting offers unmatched quality, affordability, timely project completion, and professionalism from their skilled team. Visit their website or contact them today to elevate your DIY paint projects with confidence and expertise.